Bulb ramping with a Nikon dSLR - The technical story
I hate it when Canon users say that a Nikon is not capable of something. Well there is one thing that Canon camera's do better. Exposure ramping or bulb ramping. Imagine you want to create a time lapse movie of a sunset. Normally you would do that with a fixed shutter speed. But then your movie will become darker and darker when the sun sets. Wouldn't it be great if you can make the shutter speed longer after each frame? Then the day will go into the night and the night will have the same exposure. This is where bulb ramping comes in. You control the camera via a remote control while the camera is put in bulb mode. The controller can then determine the shutter speed of the images. Canon camera's do this very good. You are able to control the shutter speed of the camera very precisely. But not with a Nikon. Nikon camera's use discrete steps in their bulb mode. Why? Only Nikon knows, but this is a serious flaw in their camera design.
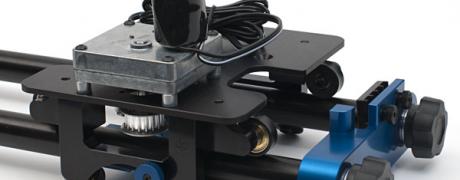
So, it was time to take up the challenge. Is there any way you can use a Nikon camera for exposure ramping time lapse movies? I sure hope so because I really don't want to invest in yet another camera. This was a good time to use the Micro Engine hardware that I have designed a while ago. This is a small time lapse engine that I designed for studio work. It is able to shut down plant growth lights and switch on my studio strobes before I take an image. You can find more about the Micro Engine on: http://www.elysiavisuals.com/content/microengine-studio-time-lapse-photography
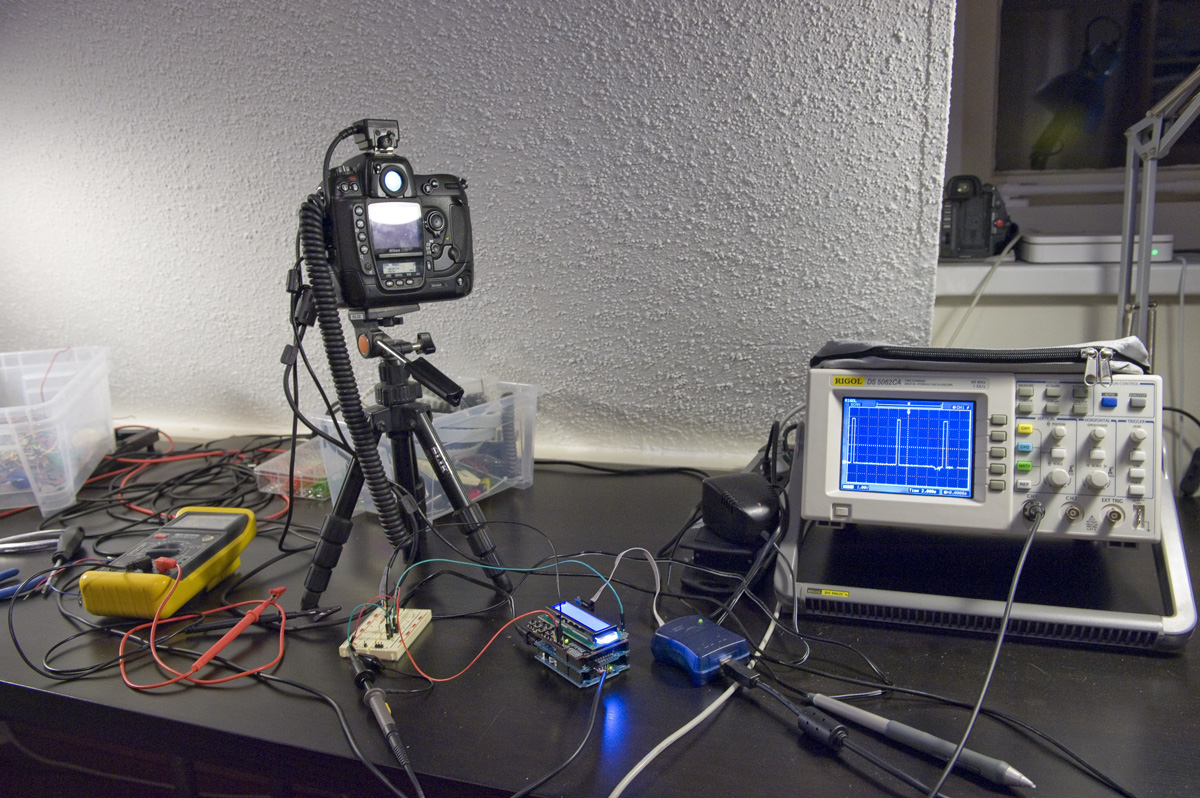
I used this hardware so that I can trigger my Nikon camera. The x-contact, or pc-socket of the camera was connected to my arduino with the help of a 10k ohm pull-up resistor. I used an interrupt of the Arduino so that I could measure the actual time that the x-contact was closed by the camera. I also connected my DSO to make sure that everything was working ok. The idea behind this is that the actual shutter speed can be measured through the pc-socket. Every camera has shutterlag; that is the time between the press and the moment that the shutter opens up. The pc-socket gives a signal as soon as the shutter is opened en again when it closes.
 |
 |
I can confirm that Nikon camera's use very discrete steps in their bulb mode. The actual exposure is always (much) longer than the actual exposure time that I gave on the 10 pin plug of my D2X. I did some ramping (made the bulb time longer). Then you see that the actual time is increased in discrete steps by the camera. This is unacceptable when you want to use a camera like this for exposure ramping.
Here are the results of both my D2X and my D700:
| Nikon D2x | Nikon d700 |
|---|---|
| Nikon D2X bulb ramping measurement test Exposure time,Measured exposure time,Shutter lag |
Nikon D700 bulb ramping measurement test Exposure time,Measured exposure time,Shutter lag |
| 1000,1218,45 1010,1217,44 1020,1216,45 1030,1217,44 1040,1218,44 1050,1217,45 1060,1216,44 1070,1217,45 1080,1217,45 1090,1217,44 1100,1217,44 |
1000,1201,45 1010,1201,45 1020,1201,44 1030,1201,45 1040,1251,44 1050,1250,44 1060,1252,44 1070,1252,44 1080,1250,44 1090,1300,43 1100,1301,44 |
So, nothing new. Similar results have been found by others. I see three solutions that could tackle this problem. Only solution three is the correct one, but Canon? Sorry not for me at the moment.
- Automatically cCreate an XMP file per image that performs an accurate adjustment in Lightroom (automagically). Modern cameras do 14bit RAW so the necessary head room is certainly there. I don't know if this can be done well enough though. It is well worth a try. The adjustmet will be based on the measured exposure time.
- Check if you can set an accurate exposure time through a PTP connection. I know this is far fetched, but worth a try I guess. I will have a more detailed look at gphoto2 for this. gphoto2 should make it easy to do ISO ramping and I think it is the way to go anyway. The whole setup can be installed on an embedded Linux board like the BeagleBoard or something similar.
- Get a Canon?
Option 2 is only feasible when the PTP protocol of my Nikon camera's support a very granular shutter speed. I have not found any proof of this. Which for now leaves option 1 open. Can you use Photoshop/Lightroom to automatically correct the images? Time to find out.
The trick is to create an xmp file per image that you take during the ramping sequence. These xmp files are created by the time lapse controller and are stored on a separate SD card. The xmp file holds the calculated difference between the bulb exposure that you want and the actual exposure. A 14bit raw holds enough headroom for this per image correction. This is different from a flicker correction because this method takes into account what the actual exposure was per image.
My work flow was as follows:
- Perform a "normal" bulb ramping sequence. The example below consists of 128 images with a 1/96th stop difference per image. My code creates an xmp file per image
- Load all images from the camera to a folder
- Load all xmp files from the time lapse controller to the same folder
- Import the RAW files into Lightroom
- Export the RAW files to jpg images
- Create a movie with the help of Quick time pro
So no deflicker algorithm was applied to my sequence. The movies are not the best in the world ![]() . It's just a sequence of my soldering station. I ramped from 1 second and up with a total of 128 images and 1/96th stop difference per image. The camera was a Nikon D2X and a Nikon 14-24 lens stopped down to f8.
. It's just a sequence of my soldering station. I ramped from 1 second and up with a total of 128 images and 1/96th stop difference per image. The camera was a Nikon D2X and a Nikon 14-24 lens stopped down to f8.
Here is the first result. This is the corrected video where the automatically created XMP files are applied to every image. I am only ramping one stop; so you have to watch closely. The image is getting brighter during the video and no flicker can be seen.
Here is the code that I used today. Note that I am using a far more advanced version right now. This is just to show how you can do this yourself. I am still very disappointed about the much longer actual exposure time.
// Don't forget to set the camera flash settings to normal; no second curtain !!!
// Noise reduction must be set off also
// Library for the DFRobot Shield
// Download: http://www.yerobot.com/products/manual/LCD4Bit_mod.zip
#include <LCD4Bit_mod.h>
//create object to control an LCD.
//number of lines in display=1
LCD4Bit_mod lcd = LCD4Bit_mod(2);
// shutter and focus connections
#define CAMERA_PIN 13
#define FOCUS_PIN 12
// X-contact pint
#define X_PIN 2
unsigned long measured_exposure_time;
unsigned long exposure_time;
char message_buffer[17];
void Nikon_measure_shuttertime(){
int x_value = digitalRead(X_PIN);
if (x_value == HIGH){
// Exposure has started
measured_exposure_time = millis();
}
else {
// Exposure stopped
measured_exposure_time = millis() - measured_exposure_time;
}
}
void setup(void){
// setup camera pins
pinMode(CAMERA_PIN, OUTPUT);
pinMode(FOCUS_PIN, OUTPUT);
pinMode(X_PIN, INPUT);
lcd.init();
lcd.clear();
lcd.printIn(" Nikon Exposure");
lcd.cursorTo(2, 0);
lcd.printIn("ramping test v01");
delay(2000);
measured_exposure_time = 0;
// 328 has 2 interrupts 0, 1; bound on pin 2 and 3
// Register an interrupt on the X pin
// Any change on this pin will execute the counter function
attachInterrupt(0, Nikon_measure_shuttertime, CHANGE);
interrupts();
}
unsigned long i;
void loop(void){
for(exposure_time = 500; exposure_time < 700; exposure_time += 10){
// Focus pin high for Nikon
digitalWrite(FOCUS_PIN, HIGH);
delay(500); // Wait until the focus pin kicks in; just to be sure
digitalWrite(CAMERA_PIN, HIGH); // Fire the camera
delay(exposure_time); // We use delay so that we are blocking the loop. This sketch is just for measuring
digitalWrite(CAMERA_PIN, LOW);
digitalWrite(FOCUS_PIN, LOW);
delay(1000);
lcd.clear();
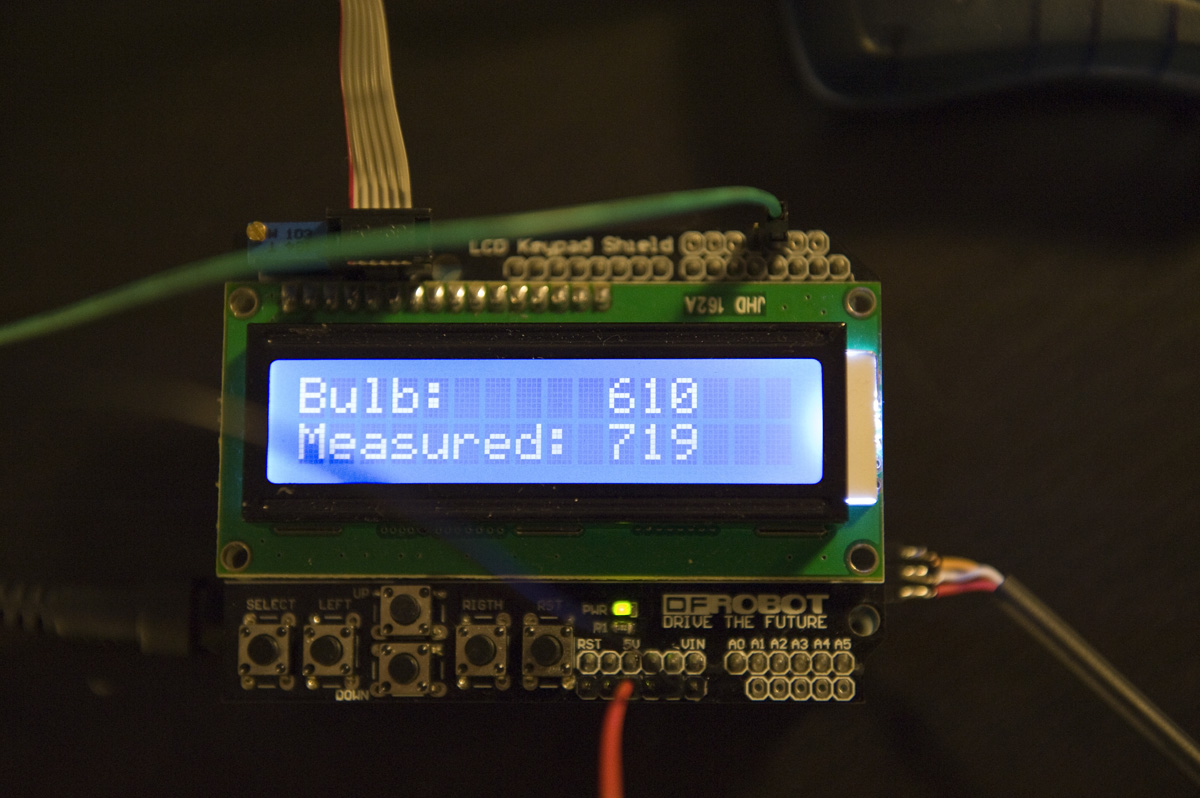
sprintf(message_buffer, "Bulb: %d", (int) exposure_time);
lcd.printIn(message_buffer);
lcd.cursorTo(2, 0);
sprintf(message_buffer, "Measured: %d", (int) measured_exposure_time);
lcd.printIn(message_buffer);
delay(7000);
}
while(1){
}
}
related products - Related Products
- Log in to post comments